Do you want to make a stencil but don’t know how? If so, this is the blog post for you! In today’s tutorial, we will be walking you through the step-by-step process of how to make a stencil from a picture. This is a great project for anyone who wants to start designing their own stencils. Let’s get started!
How to Make a Stencil in Photoshop
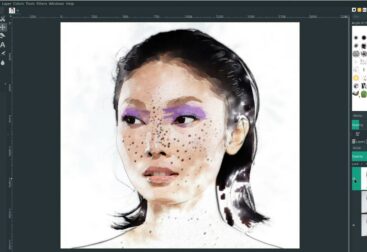
Step One: Open up your picture in Photoshop.
Step Two: Duplicate the background layer by pressing “Ctrl + J.” This will create a copy of the layer that you can work with.
Step Three: Invert the colors of the picture by pressing “Ctrl + I.” This will make all of the black areas in your picture white, and all of the white areas black.

Step Four: Convert the image to a silhouette by selecting “Image” > “Mode” > “Silhouette.”

Step Five: Crop away any excess around the edges of the image using either the rectangle or lasso tool. Make sure to select “Crop Tool” from under Tools menu before cropping.
Step Six: Save the image as a .PNG or .JPG file.
And you’re done! Now you can use your stencil in all of your crafting projects. Happy stenciling!
How to Make a Stencil from a Photo in Illustrator?
Step One: Open your photo in Adobe Illustrator.
Step Two: Duplicate the background layer by pressing “Ctrl + J.” This will create a copy of the layer that you can work with.

Step Three: Invert the colors of the picture by selecting “Edit” > “Invert Colors.” This will make all of the black areas in your picture white, and all of the white areas black.
Step Four: Convert the image to a silhouette by selecting “Object” > ” live Trace” > ” Make.” Then, select how many colors you want in your final image. We recommend using no more than 16 colors for best results.

If you want a vector file, click on expand and then select “Object” > “Expand Appearance.”
Step Five: Crop away any excess around the edges of the image using either the rectangle or lasso tool. Make sure to select the “Crop Tool” from under Tools menu before cropping.
Step Six: Save your file as a .PDF, .EPS, or .AI file.
And you’re done! Now you can use your stencil in all of your crafting projects. Happy stenciling!
Note: These instructions are for making a stencil from a photo in Adobe Illustrator CS versions cs through cs2015. If you are using an older version of Illustrator, some steps may be different.
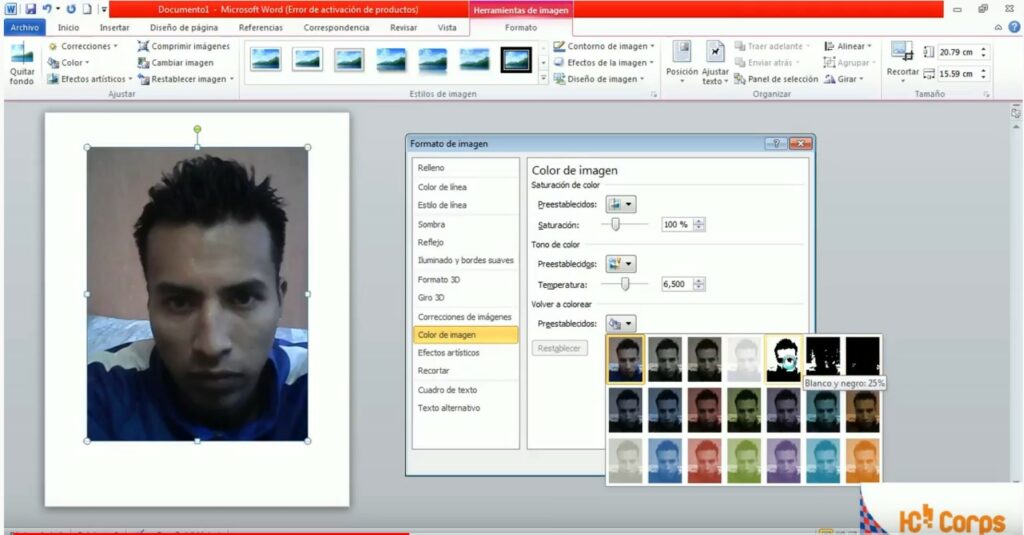
Picture to Stencil in Microsoft Word
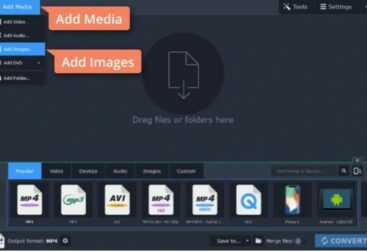
Step One: Open your photo in Microsoft Word.
Step Two: Duplicate the background layer by pressing “Ctrl + J.” This will create a copy of the layer that you can work with.
Step Three: Invert the colors of the picture by selecting “Format” > “Invert Colors.” This will make all of the black areas in your picture white, and all of the white areas black.
Step Four: Crop away any excess around the edges of the image using either the rectangle or lasso tool. Make sure to select “Crop Tool” from under Tools menu before cropping.
Step Five: Save your file as a .PNG or .JPG file.
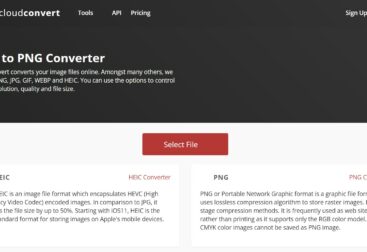
Online Editors for Turning Pictures into Stencils
If you don’t want to use Photoshop or Illustrator, there are a number of online editors that can help you turn your picture into a stencil. Some popular ones include:
- Stencilize
- MakeStencils
- StencilCloud
We hope you enjoyed this tutorial! If you have any questions, please feel free to ask in the comments section below. Happy stenciling! 🙂